If you are going to be working on a Qualcomm phone using the PC, you would have to either automatically or manually install qualcomm phone USB drivers; this is very important to establish a digital connection using the USB (Universal Serial Bus) Cable. To install the qualcomm drivers on Windows 7 is a one way action, but for those using Windows 8, 10 and above, you will have to disable driver signature verification.
Steps to Manually Install Qualcomm Phone USB Drivers
- Download the Qualcomm Phone USB Driver
- Unzip content using WinRaR
- Open your PC’s Device Manager
- Boot your phone in EDL (Emergency Download) Mode
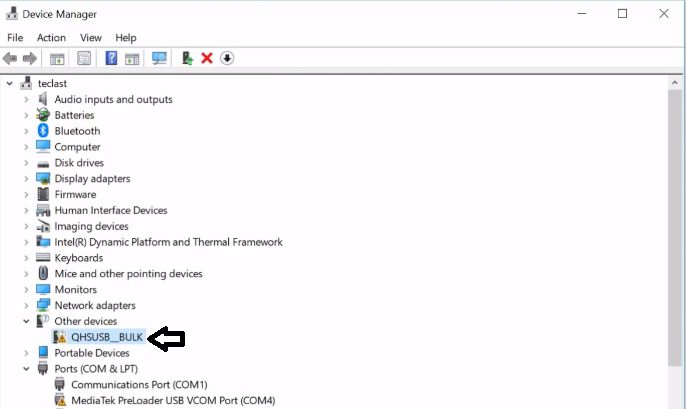
- Right-click on the highlighted QHSUSB_BULK and select Update Divers as shown in image below:
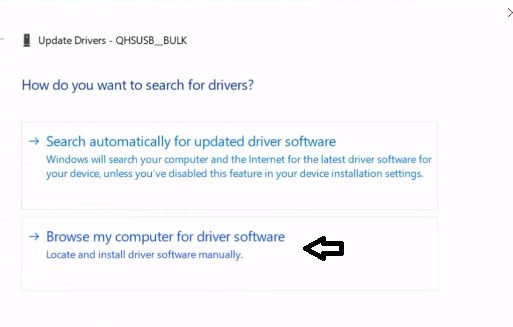
- Now select “brows my computer for driver software” you downloaded where it was saved.
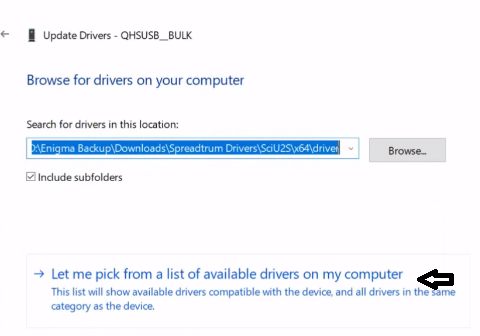
- Another Window will come up, just click next.
- Click “Have Disk” and brows to locate driver were you saved it.
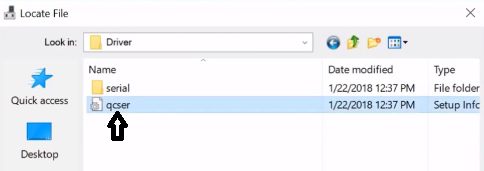
- Select the driver file “qcser” and click “open”
- On the next window that appears, click ok.
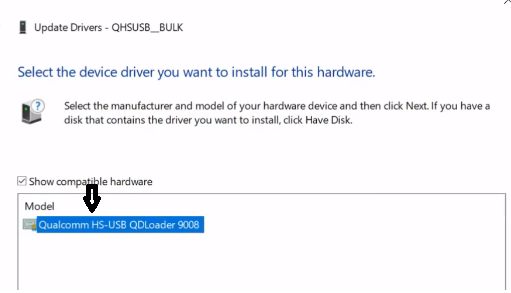
- After highlighting the driver as shown in blue colour above, then click next tab for final installation.
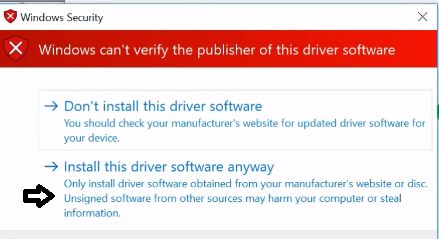
- Finally, you should click on the prompt “Install this driver software anyway.”
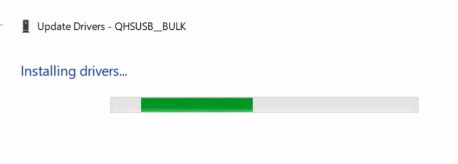
- Next, Download Samsung Smart Switch PC manager to strengthen driver connectivity to Samsung Exynos processors.
Samsung Smart Switch is a great official tool from Samsung for phone management and software upgrade and repairs.
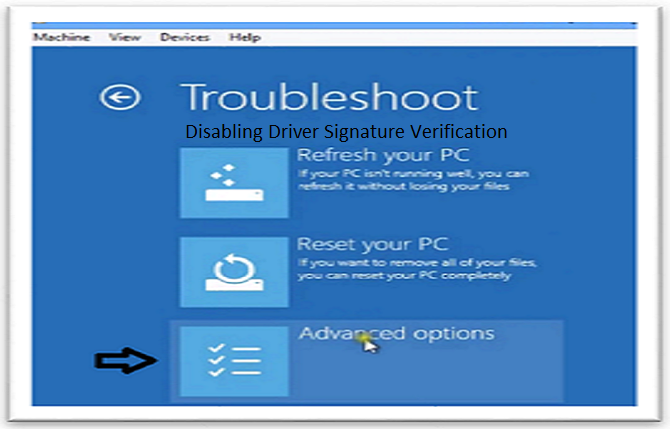
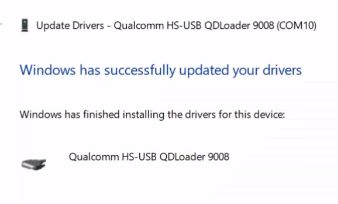
Now we are done with installing drivers. However, it is important to note that if you are using window 8 and above, you will need to disable driver signature verification, which is a computer programme that detect unsigned or unauthorized drivers from being installed.
If you have followed through, you should be able to see your Qualcomm phone being automatically detect by your PC, meaning that you can now proceed with your software repair operations without connectivity issues.

